
In the post where I reviewed my previously loved Sig P226 one of the items I thought fell short was the front sight. One of our Canadian dealers started carrying some of the HiViz sights. I placed my order and installed the sights my self. Details after the jump…
Old sights
In the review of my Sig p226 TacOps one of the things that disappointed me was the dim green fiber optic front sight. While not the end of the world or preventing the pistol from functioning, but I found this feature annoyed me.
New sights
I saw that Wolverine Supplies in Manitoba, advertised that they had some Hi Viz sights in stock. Being less then thrilled with the stock fiber optic front sight on my p226 I thought this would be a good opportunity to try something new.
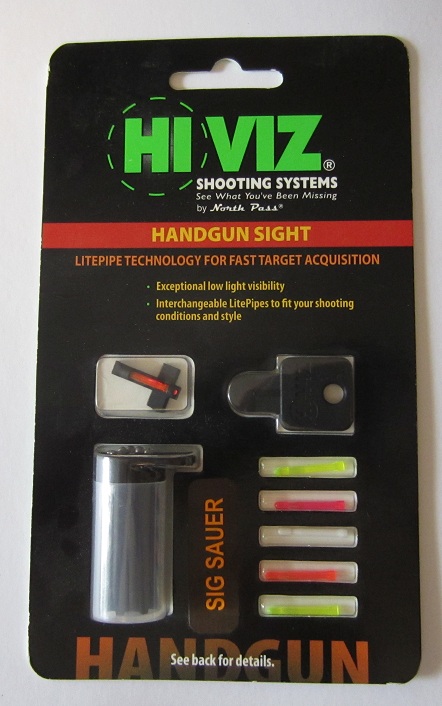
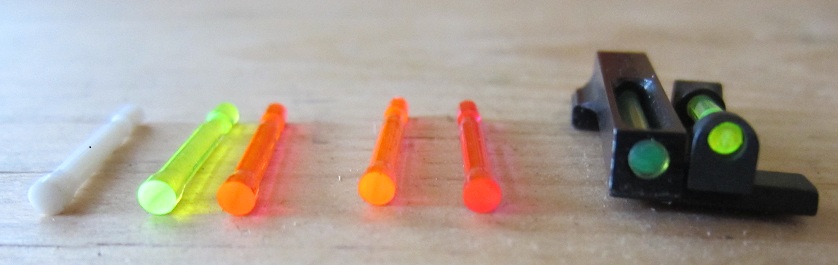
The Hi Viz sight I selected came with six LitePipes, a carrying case, and a tool. There is 1 white insert (not fiber optic), 2 green fibers, 2 red fibers, 1 orange/pink fiber. Changing the fibers self requires depressing a spring catch, which is easy with the provided tool but can be accomplished with a finger nail or small bladed screw driver. The LightPipe is recessed in the sight blade and I feel this aids in the bright, distinct, sight picture.
-
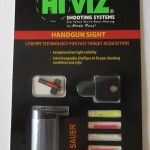
- Hi Viz package Sig p226
-

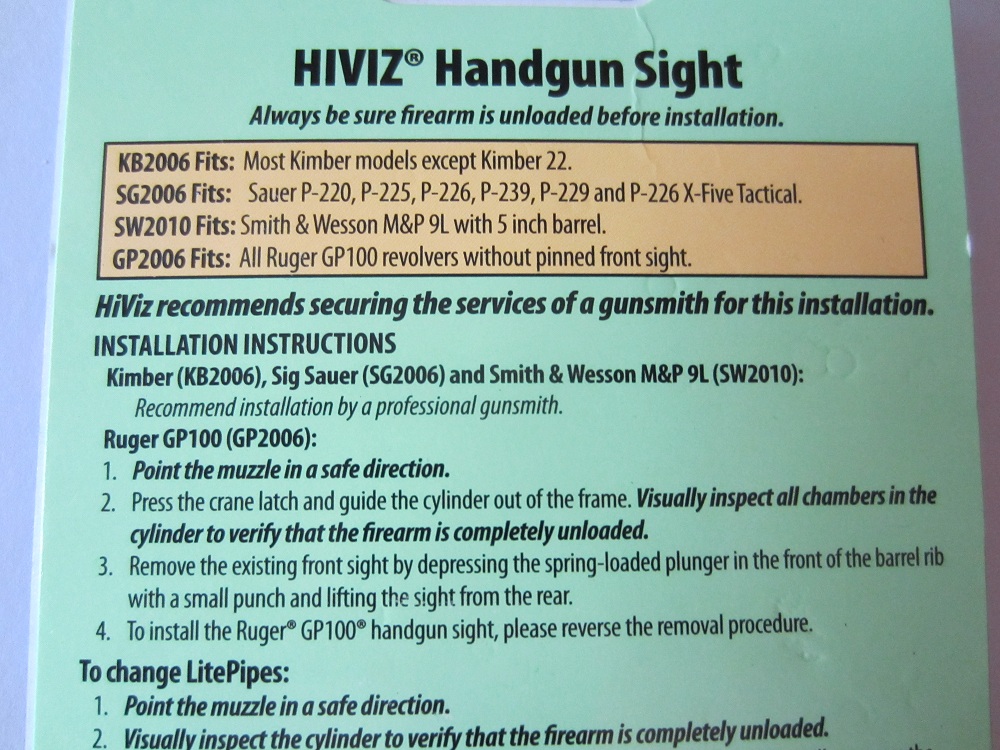
- Instructions on reverse of Hi Viz package
-
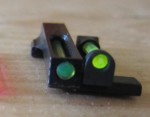
- LitlePipes for Hi Viz site. Hi Viz site and green fiber on right, second from right factory Tru Glo gree fiber site
The rear of the package included instructions for installing the sight and changing the LitePipes. Fits Sig p226, check. “Recommend installation by professional gunsmith’, wait … what? This suddenly got intimidating I thought any fool with a punch should be able to swap a sight. This is the first time I replaced a dove tail sight. I didn’t think it should be hard, and I’m mechanically inclined, but the packaging had me a little worried.
Pros
- Easy instillation
- Easy to change colour
- Improved sight picture
Cons
- Some fitting required
Installation
- Of course ensure the fire arm is unloaded, obviously. In Canada its a crime to store a loaded hand gun, so this is moot, but rack and check any way.
- Field strip the pistol. Set aside everything but the slide
- Wrap the slide in several layers of masking tape to prevent any marring.
- I don’t have a vise on my work bench so I improvised. Using pair of clamps, I held the slide to a scrap piece of 2×4 and to the bench. This provided a solid mount.
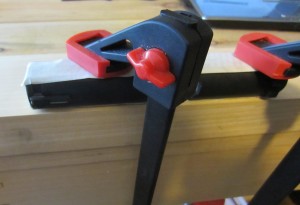
Improvised mount
- Gather the hand tools. To change the sight I used some tools I already had from Brownells;
- Using the drift punch and the hammer I had to apply a great deal of force to remove the factory front sight. Sight is removed from right to left of the slide. This took much more force then I expected and added to my fear that maybe a professional gunsmith was required.
- Using calipers I measured the factory sight base and the Hi Viz sight, and found I had some significant filling to do, 0.005 of an inch
-
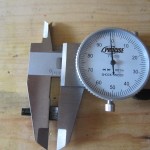
- Measuring the factory sight
-
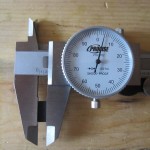
- Measuring the new sight
-
- I had a 60° file which worked. I think the angle was wrong as it did not fill all of the space between the side of the sight base and the bottom of the sight ramp. I think a 65° file may have been a better option, but I did not have one. Holding the file and carefully pushing it over the rear angle of the dovetail worked ok.
- I regularly tested for fit by pushing the sight into the dove tail and checking to see how far I could push the sight with my thumb. Them pushing the sight back out and filling a little more.
- I found that once I got the first third of the sight base in I could drive the sight home with the hammer and punch. Using the calipers measured the distance to the center the dovetail and used the punch to gently punch the sight into place. Much like during the filing process it was a lot of small adjustments and measuring.
The end result of the sight change is what i find to be a much brighter, easier to acquire sight picture. The process of changing the front sight was a little intimidating because of the packaging and the force required to remove the factory front sight. I think having a proper vise and different file may have helped speed up the process but my improvised and adapted tools work out just fine. The entire process of changing the front sight took about 40 minutes from when I pulled the pistol out of the safe to when I re installed the slide on the frame.
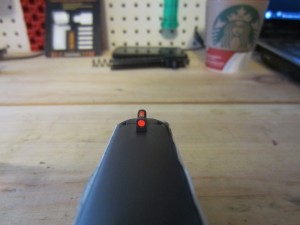
Hi Viz front sight installed on Sig p226
Pingback: Sig P226 TacOps Review - Everyday Tacticool